
Underwater GoPro Tips and Tricks Part 1
Welcome to a Rowand’s Reef tutorial blog! Today, I want to talk about one of my favourite things to do while on a dive, underwater filming.
Just about everyone who takes a diving course will ask us, “what is the first thing I should buy?” Although, getting your hands on an underwater camera isn’t really the single highest priority for new divers, I would still place it close(ish) to the top. Underwater cameras are a great way to remember your dives, show off your cool hobby, or even to start laying some groundwork towards bigger things with underwater imaging. So whether you are an aspiring professional or someone who just wants to remember their vacation better, hopefully you can draw some useful information from this article.
Disclaimer
First off, I am by no means a professional level underwater videographer. I have, however, spent years using underwater cameras and have scoured the internet looking for tips to improve my footage. There are many many resources out there on this topic, my goal here is to take some of the best information I have come by over the years and compile it all in one place.
Secondly, there is an enormous variety of underwater cameras on the market at this time. The focus of this article will be on the GoPro line of action cams because they seem to be the most common and what I have experience using. However, much of this information is universal and can apply to any camera system out there.
What You Will Need

Underwater Camera:
There are so many different underwater cameras to choose from but the focus of this article will be on the GoPro Hero 6, 7, and 8 Black series of cameras. From my personal experience and research these seem to perform the best in underwater situations and have the largest number of available accessories.

Underwater Housing:
Depending on which GoPro you have, the level of waterproofing and available options for housings may be a little bit different. For the Hero 6, 7, and 8, the camera itself is waterproof to 10 metres and the underwater housing, known as the “Super Suit,” is waterproof to 60 metres. The White and Silver models use a different “Protective Housing” which is waterproof to 40 meters. Older GoPros have a couple of options. The “Standard Housing” is waterproof to 30 metres and the more robust “Dive Housing” is waterproof to 40 metres.
Anti-Fog Inserts:
When the camera goes underwater and the air inside the housing cools off, the humidity in the air will condense on the inside of the housing. Use anti-fog inserts to absorb any moisture and keep your videos fog free.
Extra Batteries:
-From my experience, GoPro batteries seem to be able to last about as long as one good dive. I would definitely recommend bringing along a fresh battery for every dive you are doing that day.
Underwater Filters:
When you learnt to dive you were taught that water absorbs light rays. Because of this, you will lose color in your underwater videos causing your image to look washed out. You will have to use an underwater filter to help restore the natural colours in your video. Some of these filters are:

Snorkeling Filter:
Usually either a yellow or light orange colour. Use these filters when filming in very shallow depths. Usually 10 metres or less.
Red Filter:
Because red is the first light frequency absorbed by water you will need one of these to help restore the colour to your image. This works by adding the missing red frequencies back into the image. There is a wide variety of red filters available on the market. Some companies make them with multiple shades of red which gives the operator more control over colour as you change depth. Other companies make just one straight up red filter. From my experience, just the single red filter works just fine and is overall easier to use.
Red filters are… red, obviously, and they are for use in blue/tropical water at depths greater than 10 metres. If they are used much shallower you will end up with a red hue cast over your image. These filters will not be effective if used in green water.
Magenta Filter:
If you are diving in green water, like we have here in BC, you will need a magenta filter to correct your colour profile. Magenta filters work in the opposite way to red filters, using color subtraction as opposed to color addition. On a colour wheel, magenta is opposite green, so by using a magenta filter you are shifting the colour balance away from green and towards magenta. Thus, creating a balanced colour profile.

Macro Filter:
Because GoPro cameras are unable to focus on anything within one foot of the lens you will need a macro filter to be able to film anything up close. These filters work by magnifying the image and refocusing the light (within the camera's minimum focusing distance) on the camera’s sensor. The drawback here is that anything outside of the minimum focusing distance will now be out of focus.
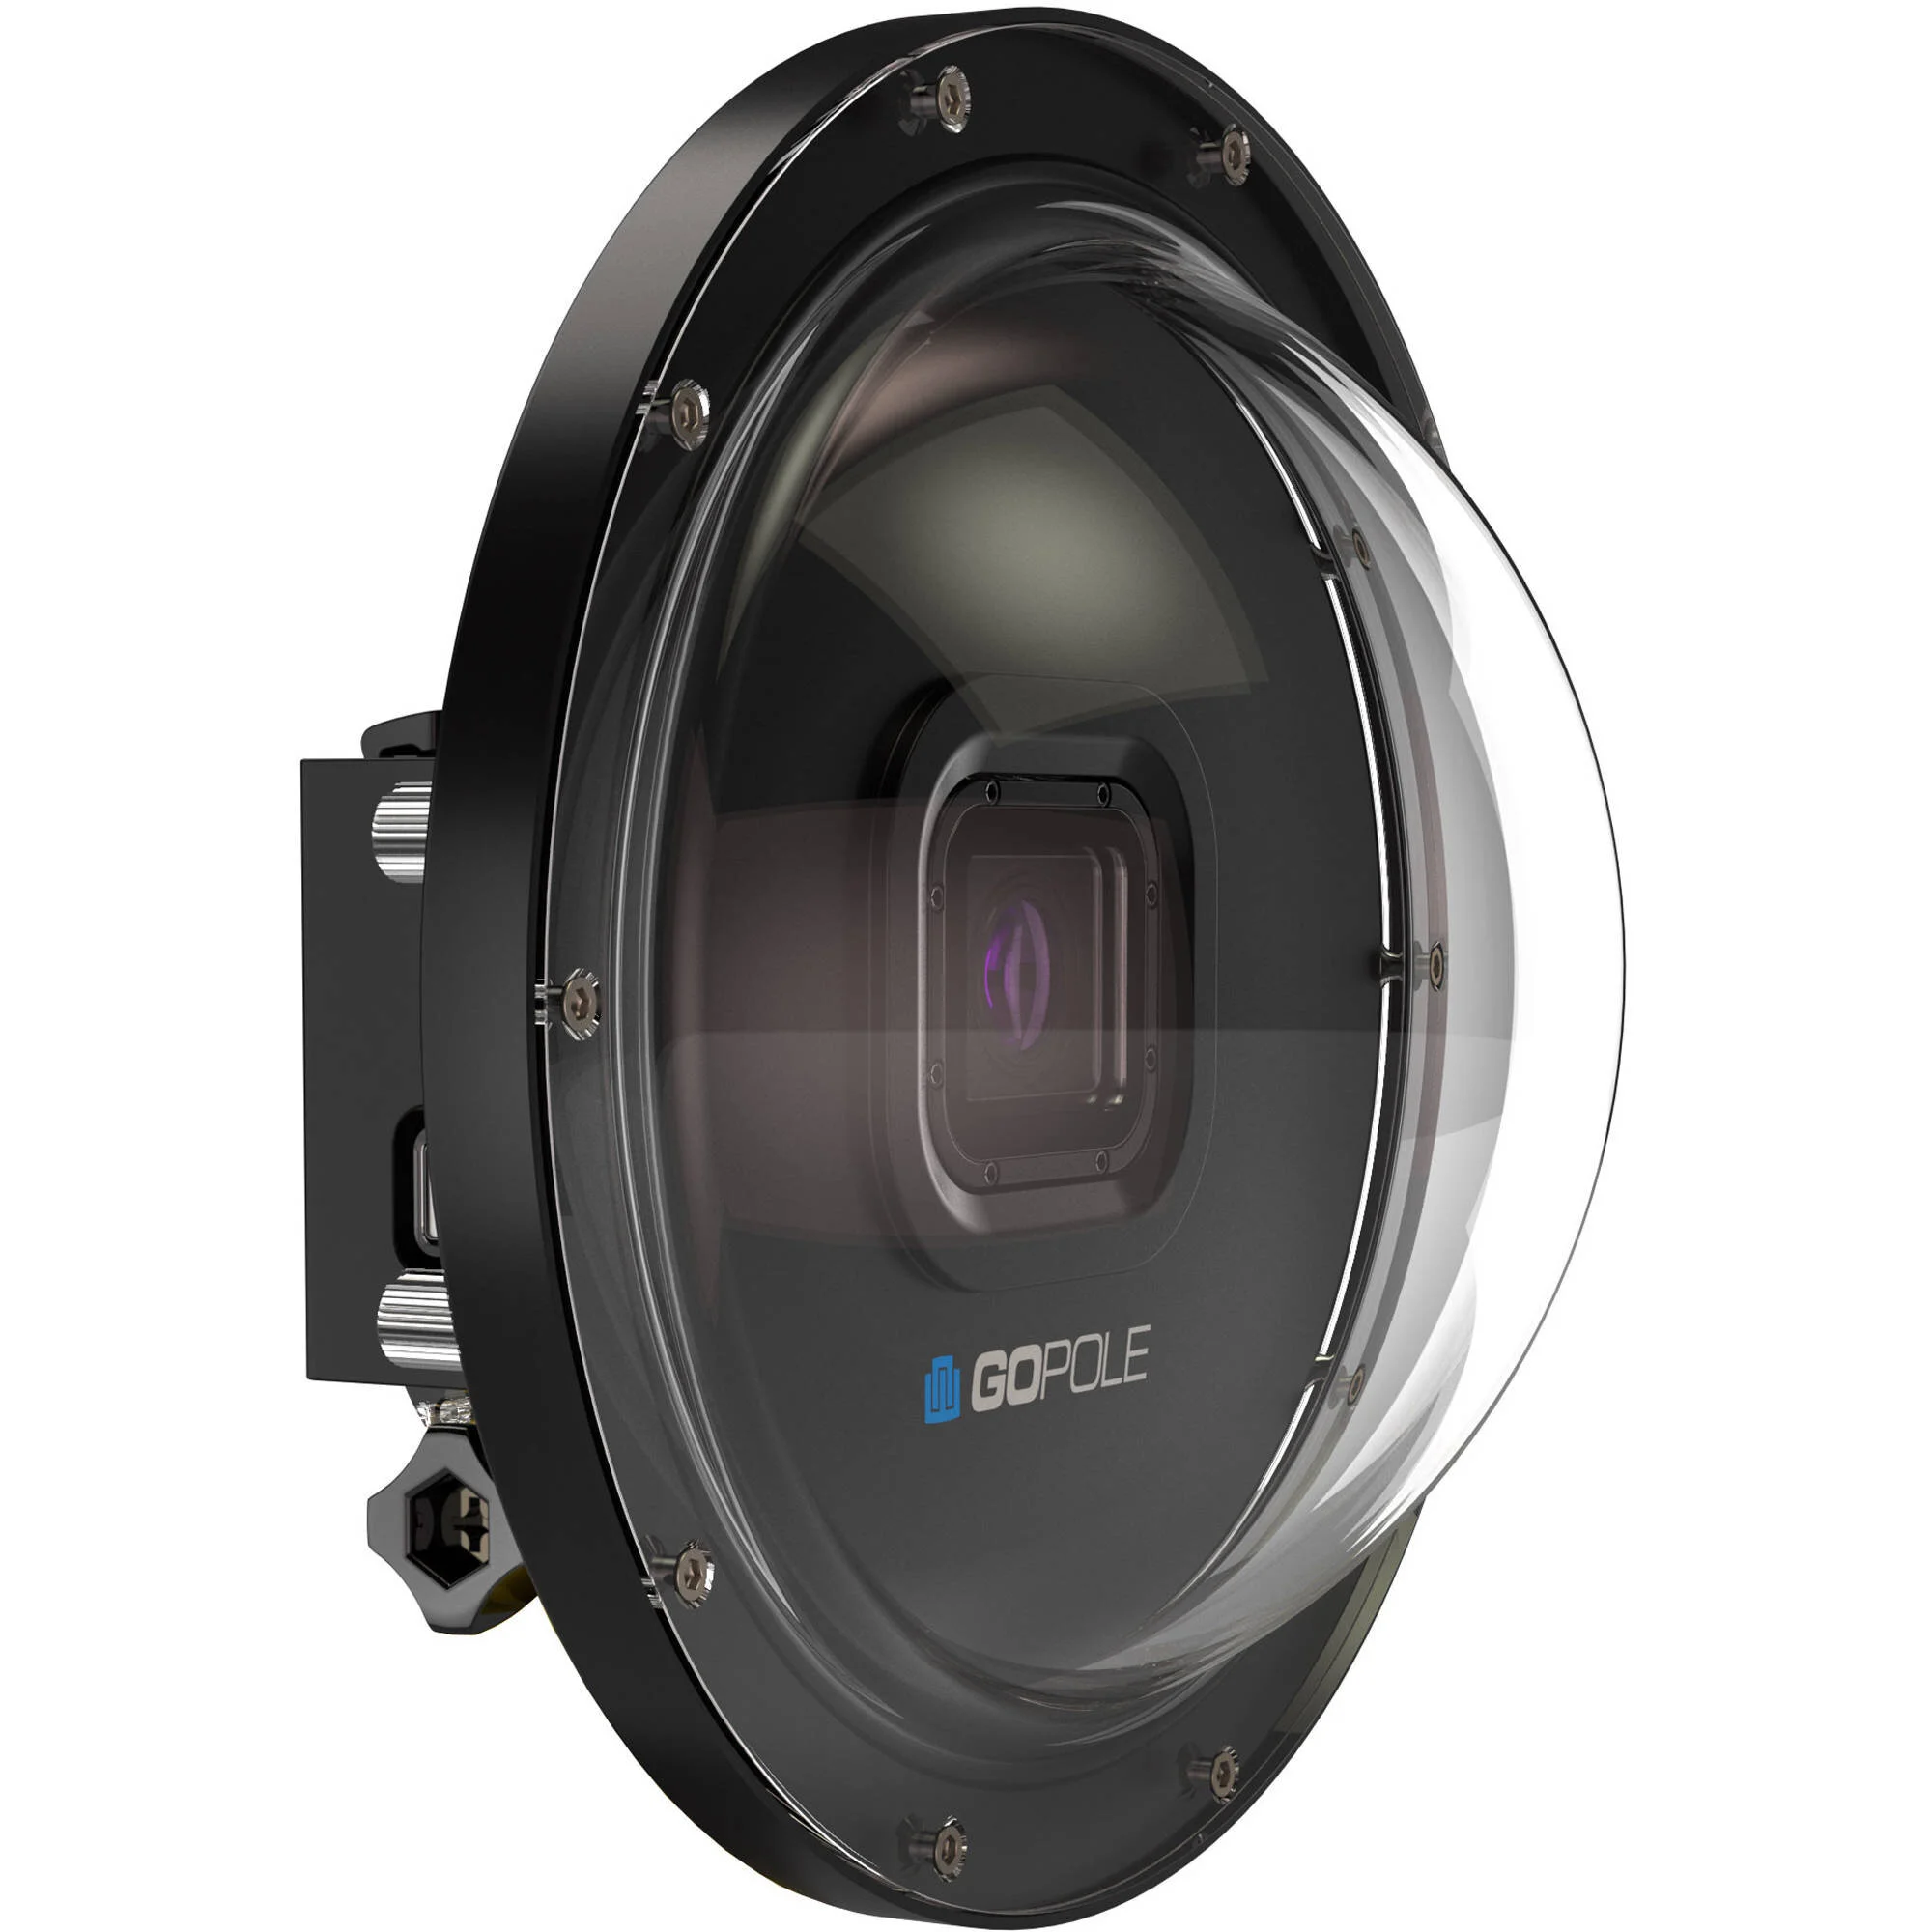
Dome Port:
If you’re trying to create a split top/bottom shot then you will need a dome port to be able to achieve that result. Unfortunately, the GoPro housing’s viewport just isn’t large enough to do this effectively on it’s own. The downside to dorm ports is that if they are used underwater you will end up with uneven lighting from top to bottom. The top part of your image will expose brighter and the bottom of your image will expose darker. This could be used for creative effect but for the most part an exposure gradient is undesirable.
Mounting Options:
When bringing a camera underwater it is absolutely essential that you have some way of mounting, or at the very least securing, your camera. GoPro probably has at least 50 different options for mounting their cameras, but for underwater purposes, some are better than others. The goal of mounting your GoPro is to increase the stability of your footage (shaky footage is bad footage) and to ensure you don’t drop and lose your camera. Here is a quick look at some of the best ways to mount and secure your underwater camera.

Snappy Coil:
These nifty little things won’t do much in terms of improving your image quality because you will be hand holding the camera but it is the absolute least I would recommend to just not lose the camera. One end of the Snappy Coil will attach to a D-ring on your BCD and the other end will attach to the camera. If you’re not using the camera you can keep it close to your body by doing up the clip or you can unclip it and have it extend to a full arm’s length away from your body.
Camera Tray:

This is hands down the single best way to mount your camera for almost every underwater filming situation. A camera tray will offer the highest possible level of stability underwater and it can also allow you to mount lights.
Monopod/Selfie Stick:
These are great for, well… taking selfies, but they also offer a few advantages that even a camera tray doesn’t. A monopod gives you the option of getting the camera further away from your body. This can come in handy if the fish you're trying film isn’t super keen on you getting too close. You can also use these to help you get your camera into smaller spaces like cracks in the rocks or weaving between pieces of coral. You can actually still produce very solid footage with a monopod by just counterweighting it in your hand.

Tripod:
I don’t use tripods underwater very often but they can help you produce a certain style of shot. If you just want the camera to sit perfectly still in one spot and capture a static landscape while all of the fish on a busy coral reef swim by then a tripod is the best way to achieve that. PLEASE, do not plant your tripod on top of any kind of sensitive bottom! Only ever place a tripod in the sand and not actually on the reef.

Reef Hook:
This last one isn’t a mount but it will help you get stable footage in a situation where you would otherwise have to kick against current. And contrary to the actual name of this thing, please don’t hook it on the reef.
Settings
GoPro cameras are packed full of different settings and features you can use to really make the most of your camera, or they can also be quite simple. For the novice camera enthusiast, all they would have to do is turn the GoPro on and hit record without changing any settings and they would be quite pleased with the results. But that’s not what we are here for.
The number of different options with a GoPro camera can be a bit intimidating for someone who doesn’t know much about them. What do all of these options do and which ones should you pick and when? The answers to these questions become even more difficult to find on your own because you can’t change the settings while you’re underwater. The trial and error can become rather frustrating, hopefully I can help you out a bit.
Resolution:
Changing the camera’s resolution is what changes the “image quality,” for lack of better description. The number, or the name of each setting is how many pixels wide your video will be. The more pixels you can fit on a screen, the more clear and detailed your image will be.
These days, everyone is after the highest definition possible, but for the most part, you really don’t need to max out your camera’s capabilities every time you use it. GoPros have a range of resolution settings and each one is useful for different purposes.
4K:
This is the highest resolution possible for almost every professional and consumer level cameras out there and it is actually pretty incredible that these tiny cameras are capable of filming at this resolution. With a total of 4000 pixels across your image you will have the flexibility to heavily crop your footage and still display it on a big screen.
The drawbacks to this super high definition setting are:
A) The file sizes are enormous so space on your SD card and hard drive may be an issue.
B) You won’t be able to do anything super slow-mo.
C) You only have standard stabilization at 60fps. HyperSmooth at 30 and 24fps.
D) You will likely be exporting your video in 1080p, which is pretty much the highest resolution anyone would ever be viewing it in anyway. (Youtube, Vimeo, etc.)
Despite being a great setting for so many kinds of footage, I rarely find myself using 4K while diving. The image quality and file size is unnecessarily large and only being able to slow it down to ½ speed isn’t quite enough for those nice slow underwater shots. If I’m not after slow-mo, don’t need stabilization, and might need to crop the video... then I’ll switch over to 4K.
2.7K:
This setting is a nice middle ground between 1080p and 4K. The file sizes aren’t as big, it does slow-mo quite well being able to get as slow as ¼ speed, and you still have a bit of room to crop before you can’t make it any smaller. Depending on the amount of slow-mo I’m after, this is probably my most used resolution setting.
1080p:
Hands down the most versatile resolution. You won’t really have any room for cropping in but the file sizes are manageable and you can do some pretty extreme slow-mo going as slow as ⅛ speed. I’m usually in 2.7K for most of my general shooting but if I need super slow-mo I’ll switch to 1080p.
Frames Per Second (FPS):
A video is basically a photo slideshow played really fast. The number of photos (or frames) played in one second is your FPS (or frame rate). Changing your frame rate allows you to control the amount of motion blur there will be in the image and gives you the option of slowing it down later in post.
24fps:
This is the most “cinematic” looking frame rate you can use. 24fps will create the most natural image because it offers the most realistic motion blur. The downside is that you can’t get away with slowing the footage down at all.
30fps:
I don’t know what it is about 30fps but something about it makes me feel weird when watching anything filmed in the frame rate. The footage just doesn’t feel natural to me and there’s still no room to slow it down at all so I never use 30fps.
60fps:
This is where you start entering the realm of slow-mo capability. Anything you film at 60fps you can slow down to a maximum of ½ speed. For general purpose filming I will generally default to this setting.
120fps:
This is probably my most used frame rate. At 120fps you can slow everything down to a maximum of ¼ speed, which is usually more than enough for underwater shots.
240fps:
If I knew I was hopping in the water with something that moves really really fast and the goal was to film it in the slowest of mo then 240fps is my friend. Anything filmed in 240fps can be slowed down to ⅛ of its original speed, which is a heck of a lot slower than it sounds.
Aspect Ratio:
Changing this setting affects the height and width ratio of your footage. GoPro offers two options of aspect ratios.
16:9 - This is the modern widescreen video format commonly used in Hollywood movies. This aspect ratio is considered to be the industry standard and is the recommended ratio for uploading to Youtube. I alway film everything underwater in 16:9.
4:3 - This is the original aspect ratio before widescreen was a thing. It is still used today to help achieve a more retro appearance and it is commonly used in documentary style shots.
Field of View (FOV):
Linear:
This is the narrowest FOV GoPros offers with an 87.6 degree angle and it creates no noticeable distortion or fisheye effect. I find this setting works really well for macro shots because the narrower FOV will make you feel closer to the subject.
Wide:
The wide options gives you a FOV of 118.2 degrees but it does create a fair bit of distortion and fisheye effect. Fortunately, I find the distortion is much less noticeable while filming underwater so I find myself using this setting the most.
Superview:
This setting is crazy wide giving you a 170 degree FOV. Superview is cool for certain styles of sports shots but I find it to be a bit overkill for use while diving. The amount of distortion is a bit much and everything you’re filming feels like it’s super far away from the camera.
ProTune:
Enabling ProTune will give you access to all of the more specialized video settings within the GoPro camera. Using the extended range of options will give you more control over the final image your camera creates. This is useful when it comes to editing and colour grading your video. If you are not big on video editing I would recommend leaving ProTune off and letting the camera do the heavy lifting.
Shutter:
The camera’s shutter speed has a couple of different effects on the video you are taking. First of all, it will have a very noticeable impact on the exposure of the image. Using a faster shutter speed means the camera’s sensor is exposed to light for a shorter amount of time which will create a darker image. Using slower shutter speeds will create a brighter image. However, expose is not the primary consideration when deciding on a shutter speed to use.
The first consideration for choosing a shutter speed for me is that it has to agree with the frame rate. As a general rule, you should almost always be setting your shutter speed to be double what your frame rate is. For example, if you are filming at 120fps then you should set your shutter speed to be 1/240. If you try to use a shutter speed that is less than half of the frame rate you can run into issues with the footage skipping.
White Balance:
The White Balance setting is used to correct the colours in your image by adjusting for colour temperature. Different types of lights will have a range of temperatures from warm to cold. Warmer lights, like incandescent bulbs, give off more of an orange glow while LED lights are typically cooler with more of a natural white light or more of a blue glow.
By adjusting your white balance you are telling the camera what the light temperature is and it will adjust how it perceives the image and shift it’s colour balance so that the footage doesn’t come out saturated with either blue or orange.
You can use fancy light meters and grey cards to set your white balance correctly but unfortunately these methods don’t work underwater. For the most part, I will leave my camera in auto white balance mode while filming underwater. GoPros do a surprisingly good job of getting this right for you but your camera may make on the fly adjustments depending on how your available light changes.
ISO Min and Max:
The ISO settings with a camera control the sensor’s sensitivity to light. The higher the ISO is set the brighter your image will be. ISO is commonly used to correct your image’s overall exposure when the other settings you are using make the image too dark. For example, if I'm filming at 120fps I will be using a shutter speed of 1/240 which will create a really dark image underwater. At this point I can bring up my ISO to help brighten the image even though I’m using a faster shutter speed.
The downside to increasing your ISO is that it will add grain to your image. At lower settings the grain is barely noticeable, or it can add a bit of a vintage feel. If you go too far with it then the grain can become quite obvious and even ruin your image.
My recommendation is always try to keep your ISO set as low as possible and only bring it up if you absolutely need to. I will always have my ISO Min set to 100 and I will bring up my ISO Max only as much as I need to for the lighting conditions I’m expecting. The camera will look at whatever you are pointing it at and it makes the necessary adjustments within the range you have set for the different amounts of light for any given shot.
Sharpness:
This setting controls the amount of perceived detail (or sharpness) in your image. Adding sharpness to your image will increase the definition of any edges in your image by strengthening the black lines around them.
If you are a person who isn’t big on video editing I would recommend leaving the sharpness set to high. This way you will get the sharpest image possible right out of the camera. However, once that sharpness is in the image you can’t take it out later. This can cause problems during editing because some scenes might actually come out over sharpened. My suggestion is to film on medium, that way you will never have to worry about an over sharpened image right out of the camera and you can sharpen it to taste during the editing process. I wouldn’t recommend using low as I have had trouble finding enough edge detail to effectively sharpen the image in post.
Colour:
Changing this setting will change how the camera processes colour.
If you don’t like editing I would recommend using the “GoPro” colour setting because it will colour grade the image for you, giving you a more vibrant and colourful appearance right out of the camera.
However, if you are interested in colour grading your videos yourself then I would recommend using the “Flat” setting. Before you edit your footage it will look desaturated and lack contrast. Because of this you will have significantly greater control over how you can tweak and colour grade your image because the colours have not already been decided on by the camera.
Now that you have an idea of what kind of equipment you will need and what settings you might want to use I think it’s time that you head and give some of this a try. Keep an eye out for part two of Underwater GoPro Tips where we will be discussing specific techniques, camera angles and lighting situations.
Hopefully you found something interesting and useful in this article and we’ll see you next time in part two!